Home / Tips & Hacks / Apple Corer Wick Replacement
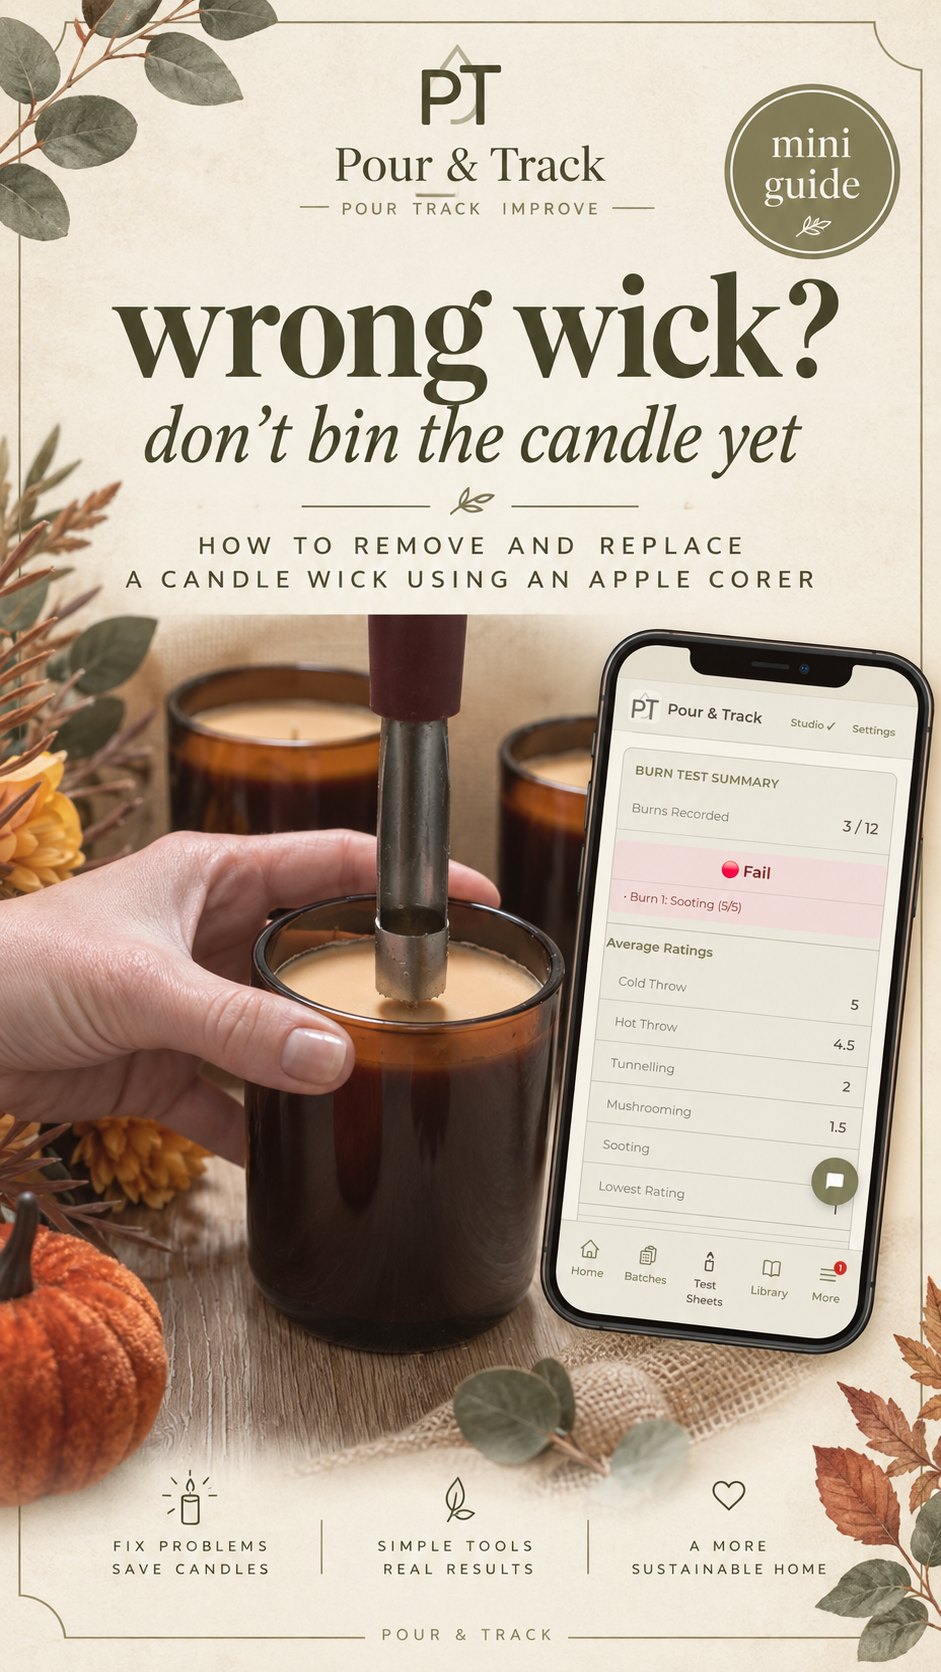
9-page mini guide · core · rewick · retest
Wrong wick? Don't bin the candle yet
How to remove and replace a candle wick using an apple corer.
A failed burn test doesn't always mean you need to start again. With an apple corer, a new wick and a heat gun, you can take the old wick out, put a new one in and get back to testing — without remaking the whole candle or wasting the vessel.
When this method can help
- ✓ The wick is too big or too small
- ✓ The candle isn't burning how you expected
- ✓ You want to avoid wasting a whole test candle or small batch
Changing the wick still means testing again.
Step 1 — Core and remove
- 1. Position the apple corer over the wick
- 2. Press down and lift out the wax core
- 3. Remove the old wick
- 4. If the wick tab stays behind, lift it out with tweezers
Try to keep the core as straight and central as possible.
Step 2 — Replace the wick
- 5. Add glue to the wick tab
- 6. Lower the new wick into the centre hole
- 7. Press it into place and keep it centred
Make sure the new wick is secure before refilling the wax.
Step 3 — Refill and pack the wax
Press the saved wax back into the hole and keep the wick central.
- ✓ Pack the saved wax back in around the wick
- ✓ Press it in firmly while keeping the wick upright and centred
Use the removed wax to fill the hole rather than leaving empty gaps around the wick.
Step 4 — Make release holes and tidy
- ✓ Use a wooden skewer or similar tool to make a few small holes around the wick
- ✓ Wipe away loose wax debris from the candle surface and glass rim
The holes help any trapped air escape and let the melted wax settle back down more evenly.
Step 5 — Reset the top and finish
- ✓ Gently heat the top layer so the surface melts and settles
- ✓ Let the candle reset fully, then trim the wick
- ✓ Allow around 2–3 days (48–72 hours) before retesting, rather than restarting the full original cure time
After changing the wick, retest the candle and record the new wick in your test notes.
Why this method is worth saving
- Saves wax
Remove and replace a wick instead of remaking the candle. - Saves vessels
Keep your containers and reduce waste. - Saves time
Make quicker adjustments and get to the right wick faster. - Lets you keep testing
Refine without remaking the whole candle.
Quick wick swap checklist
- ☐ Old wick and tab removed
- ☐ New wick glued and centred
- ☐ Saved wax packed back in
- ☐ Release holes made, rim wiped
- ☐ Top reheated and reset
- ☐ Wick trimmed
- ☐ Rested 2–3 days before retesting
- ☐ New wick recorded in test notes
Make retesting easier — a traffic light result system shows at a glance whether a candle burned well, you can record each burn test with ratings and notes in one place, and helpful prompts suggest what to improve next when a candle fails.
Retest after each wick change and record the new result.
DownloadFree · 9-page mini guide · PDF
Save this for your next wick test.